To make this banksy style image I first had to import my image to photoshop. Once I did that I had to change the threshold on the photo to get my desired effect .
I then had to create a new layer and and change the blending of the new layer to lighten, then had select the gradient tool and select a colour I would then draw a line across the image to complete the fill and then use text tool to add text
For this image I use the color blue with a line from an Arnie movie
To make this banksy style image I first had to import my image to photoshop. Once I did that I had to change the threshold on the photo to get my desired effect .
I then had to create a new layer and and change the blending of the new layer to lighten, then had select the gradient tool and select a colour I would then draw a line across the image to complete the fill and then use text tool to add text
for this image I used the color orange on a white background with lyrics from a song a text

To make this banksy style image I first had to import my image to photoshop. Once I did that I had to change the threshold on the photo to get my desired effect .
I then had to create a new layer and and change the blending of the new layer to lighten, then had select the gradient tool and select a colour I would then draw a line across the image to complete the fill and then use text tool to add text
For this image I used the colour green as I feel it has the right feel for the Christopher Walken image and again have a movie quote as text

To make this banksy style image I first had to import my image to photoshop. Once I did that I had to change the threshold on the photo to get my desired effect .
I then had to create a new layer and and change the blending of the new layer to lighten, then had select the gradient tool and select a colour I would then draw a line across the image to complete the fill and then use text tool to add text
For this image i used a purple blue and had a song lyric as text on a white background

This is a unique movie poster that is made for the film E.T. that I made in the style of Saul Bass. I use the colours red, black and white as Saul Bass uses primarily primary colours and i have the iconic E.T. finger in the middle.
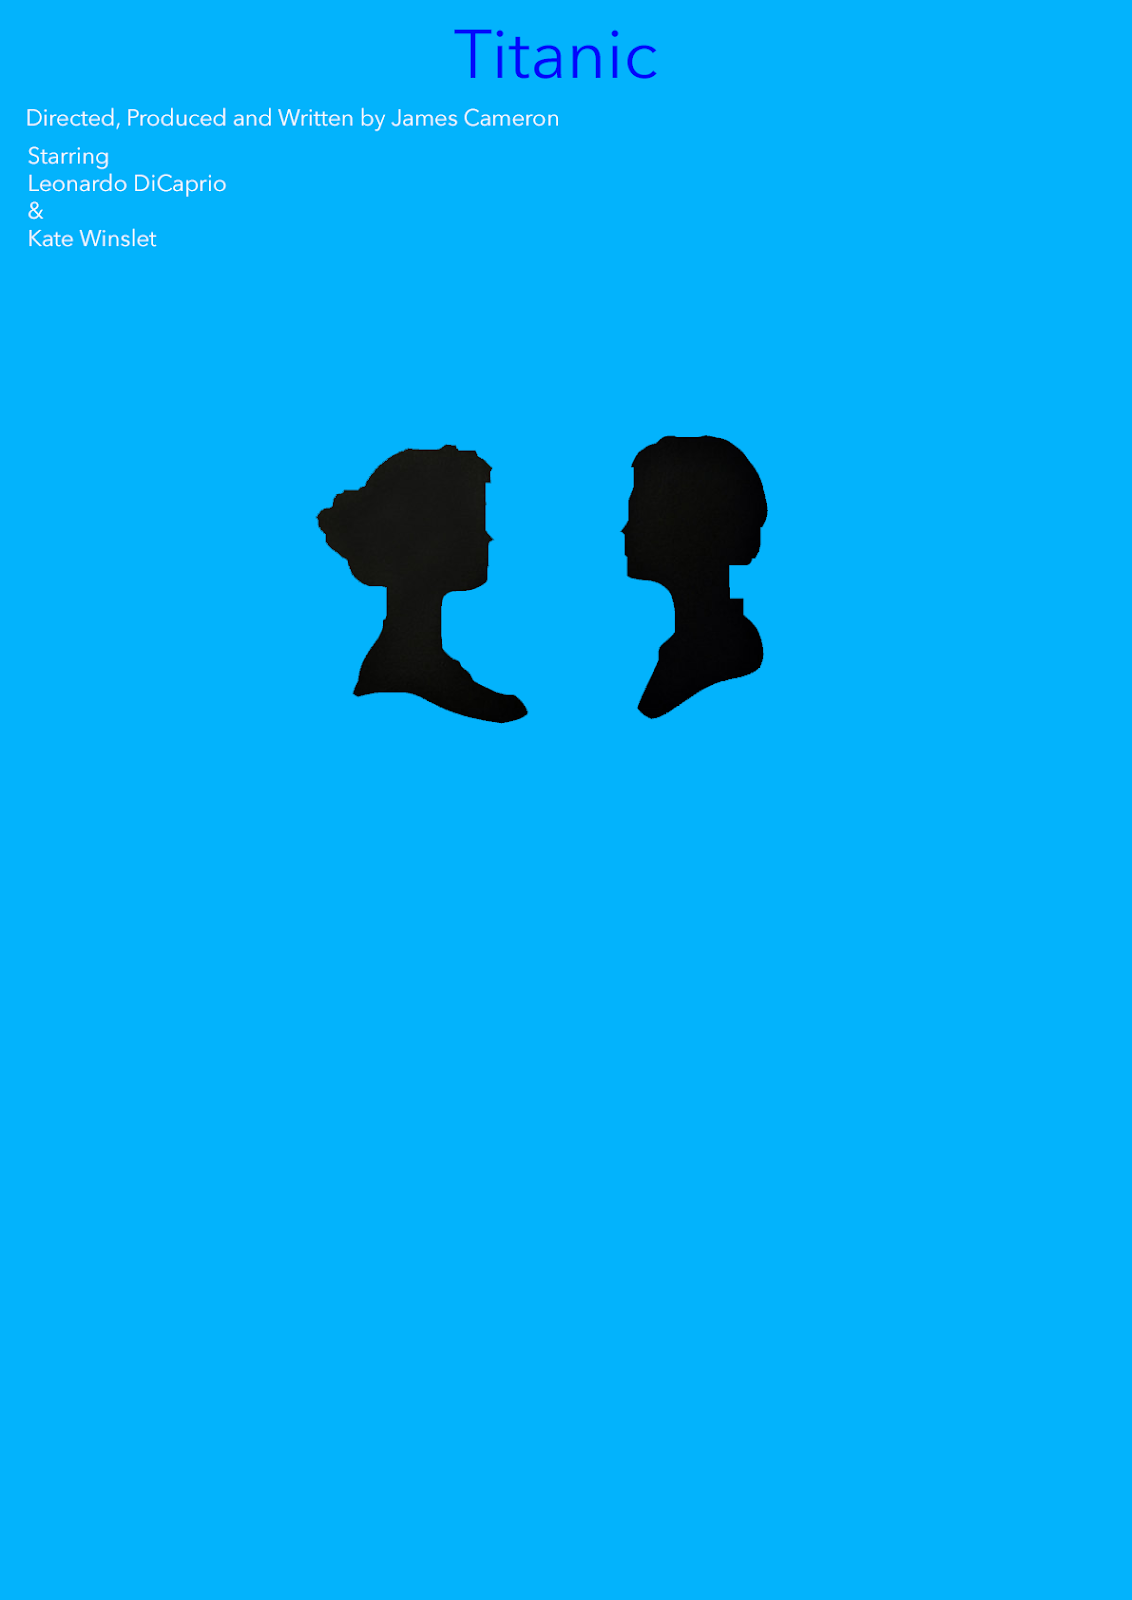
This is a unique movie poster that is made for the film Titanic that I made in the style of Saul Bass. I use the colours blue, black and white as Saul Bass uses primarily primary colours and i have the faces of Jack and rose in the middle.
To start I had to import the image into photoshop. I the had to change the gradient to my desired effect i the had to select the room around the face with the magic wand tool and add colour. In this image i added a red and a white colour as these colors work well together

To start I had to import the image into photoshop. I the had to change the gradient to my desired effect i the had to select the room around the face with the magic wand tool and add colour. In this image i added a Blue and a Yellow colour as these are completely different to the first